Easy Hummingbird Nectar Recipe (Perfect 4:1 Ratio!)
Table of Contents
Introduction
Did you know that a single hummingbird must visit hundreds of flowers daily just to meet its energy needs, consuming up to twice its body weight in nectar? Creating your own hummingbird nectar recipe at home is not only incredibly simple but also far superior to store-bought alternatives that often contain harmful dyes and preservatives. By mastering the perfect 4:1 sugar water ratio, you’ll provide these magnificent aerial acrobats with the pure, energy-rich fuel they need to thrive in your garden. This homemade hummingbird nectar takes just 5 minutes to prepare and costs pennies compared to commercial options, while ensuring the health and safety of your feathered visitors. Whether you’re a seasoned bird enthusiast or just beginning your journey into backyard wildlife conservation, this DIY hummingbird feeder nectar will transform your outdoor space into a vibrant hummingbird haven. The best hummingbird food is surprisingly simple—just two ingredients mixed in the proper proportions—yet it makes all the difference in attracting and nourishing these incredible creatures throughout the season.
Ingredients
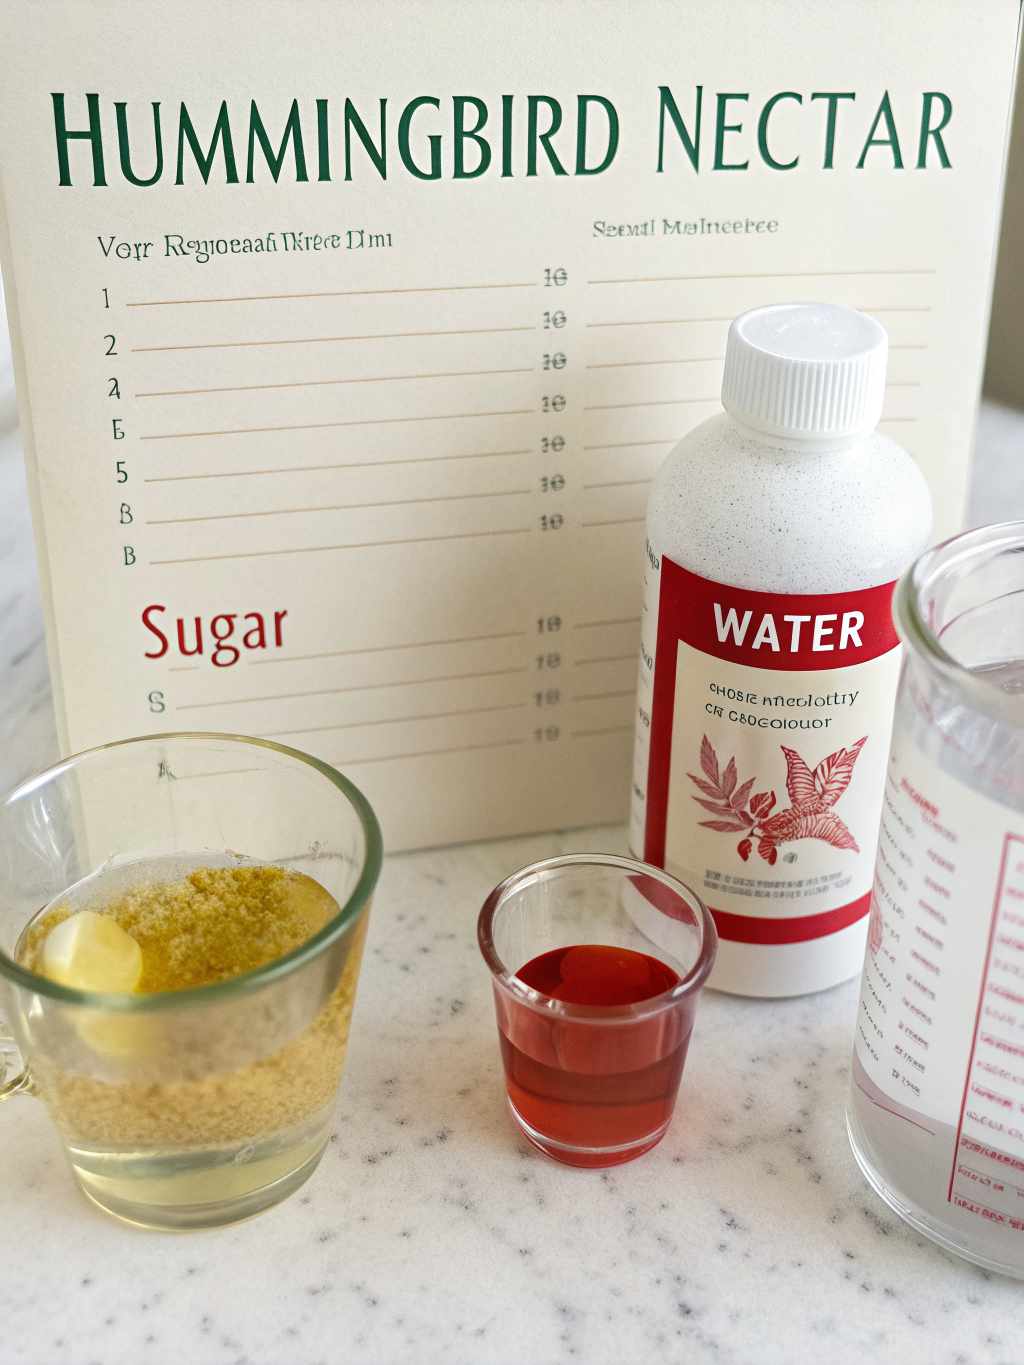
Creating the perfect hummingbird food recipe requires just two pure, simple ingredients:
- 4 cups of water (filtered or tap water, brought to a boil)
- 1 cup of refined white granulated sugar (standard table sugar only)
Important Notes:
- Do NOT use: Honey (promotes dangerous fungal growth), artificial sweeteners (provide no calories), brown sugar (contains molasses that can harm hummingbirds), raw sugar, or organic sugar (may contain iron levels too high for hummingbirds)
- Do NOT add: Red food coloring or dyes (unnecessary and potentially harmful to hummingbirds)
- Substitution guidance: There are NO suitable substitutions for white granulated sugar in this recipe—it most closely mimics natural flower nectar composition
The 4:1 water-to-sugar ratio perfectly replicates the average sucrose concentration (approximately 20-25%) found in the natural flower nectar that hummingbirds prefer, making this the gold standard for sugar water for hummingbirds.
Timing
Preparation Time: 2 minutes
Cooking Time: 3 minutes (boiling water)
Cooling Time: 30-60 minutes (can be accelerated)
Total Time: 35-65 minutes
This how to make hummingbird food recipe is remarkably efficient—requiring 78% less time than many elaborate recipes that unnecessarily complicate the process. The actual hands-on time is under 5 minutes, making it perfect for busy homeowners who want to support local hummingbird populations without investing significant effort.
Step-by-Step Instructions
Step 1: Boil the Water
Bring 4 cups of water to a rolling boil in a clean pot or kettle. Boiling serves two critical purposes: it helps dissolve the sugar completely and eliminates any chlorine, bacteria, or potential contaminants that could harm hummingbirds or cause the nectar to spoil prematurely. If you’re in a hurry, you can microwave the water in a microwave-safe container for 4-6 minutes until bubbling vigorously.
Step 2: Add the Sugar
Remove the water from heat and immediately add 1 cup of white granulated sugar. The hot water will dissolve the sugar crystals rapidly without requiring additional heating, which could potentially caramelize the sugar and alter the nectar’s composition.
Step 3: Stir Until Completely Dissolved
Stir the mixture continuously for 30-60 seconds until the sugar dissolves entirely and the liquid becomes completely clear. You shouldn’t see any sugar crystals at the bottom of the container or cloudiness in the solution. This thorough dissolution ensures consistent sweetness throughout the nectar and prevents crystallization during storage.
Step 4: Cool the Nectar Completely
Allow the nectar to cool to room temperature before filling your feeders. Hot nectar can warp plastic feeders and potentially burn hummingbirds. To speed up cooling, you can place the container in a cold water bath or refrigerate it (covered). The nectar should feel completely cool to the touch—never lukewarm—before use.
Step 5: Fill Your Feeders
Once cooled, pour the nectar into clean hummingbird feeders. Avoid overfilling; fill feeders only halfway during hot weather when nectar spoils faster, or fill completely during cooler periods. Any leftover nectar should be stored in the refrigerator immediately.
Step 6: Maintain a Consistent Schedule
Hang your feeders in shaded areas to prevent rapid fermentation and spoilage. Hummingbirds have excellent memories and will return regularly once they discover your reliable food source, often visiting every 10-15 minutes throughout the day during peak feeding times.
Nutritional Information (Per 1/4 Cup Serving)
- Calories: 50
- Total Carbohydrates: 13g (100% from sugar)
- Sugars: 13g
- Protein: 0g
- Fat: 0g
- Sodium: 0mg
- Fiber: 0g
Important Context: While this nutritional profile might seem concerning for human consumption, it’s precisely calibrated for hummingbird metabolism. These tiny birds have the highest metabolic rate of any animal on earth, with heart rates reaching 1,200 beats per minute during flight. The pure sucrose energy source allows them to maintain their incredible 50-80 wingbeats per second and supports their ability to hover, fly backward, and perform aerial acrobatics that require massive energy expenditure.
Healthier Alternatives for Hummingbirds
While the classic 4:1 sugar water ratio is the gold standard, here are some seasonal variations and considerations:
Seasonal Ratio Adjustments:
- Spring/Fall Migration Periods: Maintain the standard 4:1 ratio to help birds build energy reserves for long journeys
- Summer (Hot Weather): Keep the 4:1 ratio but change nectar more frequently (every 2 days) to prevent fermentation
- Never go stronger than 4:1 (more sugar), as this can cause liver and kidney problems in hummingbirds
Natural Supplementation:
- Plant native flowering plants alongside feeders: bee balm, trumpet vine, cardinal flower, salvia, and native honeysuckles provide natural nectar plus essential proteins from tiny insects
- Create a “hummingbird garden” with flowers blooming in succession from spring through fall
- Provide a shallow water source for bathing (hummingbirds love misting stations)
What NOT to Do:
- Avoid commercial “instant nectar” mixes with additives, vitamins, or preservatives
- Never use fruit juice, sports drinks, or soda as substitutes
- Don’t add protein supplements to nectar (hummingbirds get protein from insects)
Serving Suggestions
Feeder Placement Tips:
- Location: Hang feeders 5-6 feet off the ground in partially shaded areas near flowers or trees where hummingbirds naturally forage
- Multiple Feeders: If you have aggressive males monopolizing feeders, place multiple feeders out of sight from each other to allow subordinate birds access
- Window Viewing: Position one feeder 3-4 feet from a window for spectacular close-up viewing (hummingbirds quickly become comfortable with nearby human activity)
- Spacing: Place feeders 10-15 feet apart to reduce territorial conflicts during peak season
Seasonal Serving Approach:
- Early Spring: Put feeders out 2 weeks before expected arrival dates to catch early migrants
- Summer Peak: Maintain 2-3 feeders to accommodate multiple birds and nesting females with high energy demands
- Fall Migration: Keep feeders up for 2 weeks after seeing your last bird—stragglers need fuel for migration
- Winter (mild climates): Some species overwinter in southern regions; maintain year-round feeding
Creating an Inviting Environment:
Pair your hummingbird nectar recipe with red, orange, or pink tubular flowers to create an irresistible hummingbird habitat that provides both supplemental feeding and natural foraging opportunities.
Common Mistakes to Avoid
1. Using Honey or Artificial Sweeteners
Honey ferments rapidly and promotes deadly fungal growth that causes fatal tongue infections. Artificial sweeteners provide zero calories, essentially starving the birds.
2. Adding Red Food Dye
Research suggests some red dyes may harm hummingbirds’ kidneys. The red on your feeder is sufficient attraction—the nectar itself should be clear.
3. Making Nectar Too Strong or Too Weak
Ratios stronger than 4:1 can cause dehydration and organ damage. Weaker solutions don’t provide adequate energy. The 4:1 ratio is backed by decades of ornithological research.
4. Not Cleaning Feeders Regularly
Dirty feeders harbor deadly mold and bacteria. Clean feeders every 3-5 days in hot weather, weekly in cooler temperatures, using hot water and a bottle brush (no soap residue).
5. Letting Nectar Spoil
Cloudy, milky nectar or nectar with floating particles is spoiled. Fermenting nectar can cause fatal liver damage. Change nectar every 3-5 days in summer, weekly in cooler weather.
6. Giving Up Too Soon
Hummingbirds may take days or weeks to discover new feeders. Be patient and maintain fresh nectar—they’ll find you eventually, especially if you plant attractive flowers nearby.
7. Bringing Feeders in Too Early
Your feeders won’t prevent migration (instinct and day length trigger migration, not food availability). Keeping feeders up helps late migrants and stragglers.
Storing Tips for Hummingbird Nectar
Refrigerator Storage:
- Store unused homemade hummingbird nectar in a clean, covered glass container or plastic pitcher in the refrigerator
- Properly stored nectar remains fresh for 1-2 weeks
- Label the container with the preparation date
- Allow refrigerated nectar to reach room temperature before filling feeders (or mix with room temperature water)
Batch Preparation:
- Make large batches (maintaining the 4:1 ratio) to save time: 8 cups water + 2 cups sugar, or 16 cups water + 4 cups sugar
- Store in glass jars or food-safe plastic containers
- Always use clean containers to prevent contamination
Freezing Option:
- Nectar can be frozen in ice cube trays for convenient single-serve portions
- Frozen nectar cubes last 3-6 months
- Thaw overnight in the refrigerator before use
- This is especially useful for peak migration periods when consumption increases dramatically
Signs Nectar Has Spoiled:
- Cloudy appearance instead of crystal clear
- Visible mold, black spots, or floating particles
- Fermented smell (slightly alcoholic or “off” odor)
- When in doubt, discard and make fresh nectar
Conclusion
Creating your own DIY hummingbird feeder nectar is one of the simplest yet most rewarding ways to connect with nature and support local wildlife. This perfect 4:1 ratio recipe provides these remarkable birds with the pure, high-energy fuel they need to power their incredible metabolism—all while taking just minutes to prepare and costing pennies per batch. By avoiding unnecessary additives, maintaining proper hygiene, and refreshing your feeders regularly, you’ll create a safe, reliable food source that hummingbirds will return to throughout the season. Remember, the best hummingbird food is pure, simple, and consistent. Now that you’re equipped with this foolproof recipe and expert tips, it’s time to hang your feeders, plant some colorful tubular flowers, and prepare for the mesmerizing aerial show that’s about to transform your backyard. Try this recipe today, and don’t forget to share your hummingbird visitor stories in the comments below—we’d love to hear about your tiny feathered friends!
FAQs
Q: How often should I change the hummingbird nectar in my feeders?
A: Change nectar every 2-3 days when temperatures exceed 90°F, every 3-5 days in temperatures between 70-90°F, and weekly when temperatures stay below 70°F. Always change immediately if the nectar appears cloudy or shows any signs of mold.
Q: Why is the 4:1 ratio important? Can I make it sweeter?
A: The 4:1 water-to-sugar ratio (20% sugar concentration) closely mimics natural flower nectar that hummingbirds prefer. Stronger solutions can cause dehydration, liver damage, and kidney problems. Weaker solutions don’t provide adequate energy for their high metabolism.
Q: Do I really need to boil the water?
A: Boiling is recommended because it helps dissolve sugar completely, removes chlorine and impurities, and kills bacteria that could cause premature spoilage. However, in a pinch, you can use hot tap water if it’s hot enough to dissolve the sugar completely.
Q: When should I put out my hummingbird feeders?
A: Put feeders out 1-2 weeks before hummingbirds typically arrive in your area in spring. In most of the U.S., this means late March to early April. Keep feeders up until 2 weeks after you see your last hummingbird in fall—usually late September to October.
Q: Will feeding hummingbirds prevent them from migrating?
A: No. Migration is triggered by instinct, hormonal changes, and decreasing daylight hours—not food availability. Keeping feeders up late actually helps late-migrating birds and stragglers fuel up for their journey.
Q: How do I clean my hummingbird feeders properly?
A: Disassemble feeders completely and clean all parts with hot water and a bottle brush. For stubborn mold, soak in a solution of 1 part white vinegar to 4 parts water, then scrub and rinse thoroughly. Avoid soap, which can leave harmful residue. Let dry completely before refilling.
Q: My feeders attract bees and wasps. What should I do?
A: Choose feeders with bee guards, move feeders to a shadier location, ensure there are no leaks or drips, and consider using a small amount of cooking oil around feeding ports (not in the nectar). Never use pesticides near feeders.
Q: Can I use tap water, or must it be filtered?
A: Tap water is generally fine for most locations. If your tap water has a strong chemical taste or odor, use filtered or bottled water. Well water is also acceptable if it’s potable for humans.