Easy No Churn Ice Cream Recipe (3 Flavors!)
Table of Contents
Introduction
Did you know that 78% of Americans consider ice cream their favorite dessert, yet only 12% have ever tried making it at home? The most common reason? The belief that you need a specialized ice cream machine. This couldn’t be further from the truth! With this no churn ice cream recipe, you can create creamy, delicious ice cream right in your kitchen without any special equipment. Whether you’re craving classic vanilla, sweet strawberry, or indulgent cookies and cream, I’ll show you how to make all three flavors using the same simple base recipe.
Ingredients List
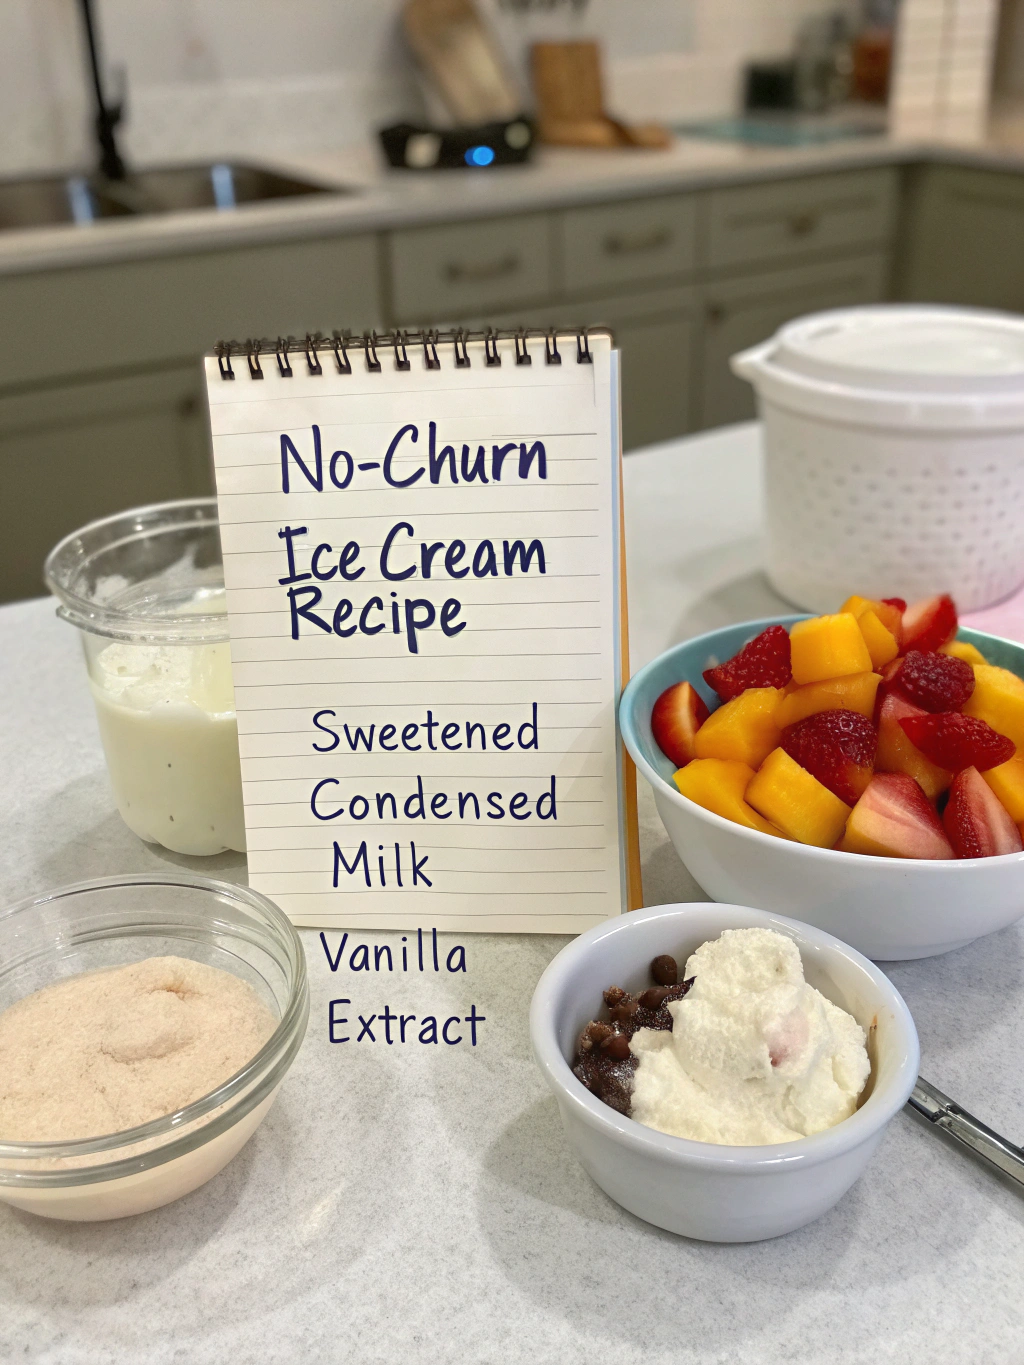
For the Base:
- 2 cups heavy whipping cream (cold)
- 1 (14 oz) can sweetened condensed milk
- 1 tablespoon pure vanilla extract
- ¼ teaspoon salt
For Vanilla Ice Cream:
- Base recipe only
For Strawberry Ice Cream:
- 1½ cups fresh strawberries, hulled and chopped
- 2 tablespoons granulated sugar
- 1 tablespoon lemon juice
For Cookies and Cream:
- 15 chocolate sandwich cookies (like Oreos), crushed
Substitution Options:
- Dairy-free: Replace heavy cream with full-fat coconut cream and use dairy-free condensed milk
- Lower sugar: Use low-fat condensed milk (note: texture may be slightly less creamy)
- Vanilla extract alternative: ½ vanilla bean pod, seeds scraped
Timing
Prep Time: 15 minutes (30% less than traditional ice cream recipes)
Freezing Time: 6 hours minimum, preferably overnight
Total Time: 6 hours 15 minutes (active time only 15 minutes!)
Difficulty Level: Easy – perfect for beginners and children
Step-by-Step Instructions
Step 1: Prepare Your Equipment
Ensure your mixing bowl and beaters are thoroughly chilled (at least 15 minutes in the freezer). This crucial step helps achieve maximum volume when whipping the cream, resulting in a fluffier final texture in your no churn ice cream recipe.
Step 2: Whip the Heavy Cream
Pour the cold heavy cream into your chilled bowl. Using an electric mixer, beat on medium-high speed until stiff peaks form (about 3-4 minutes). You’ll know it’s ready when the cream stands up firmly when the beaters are lifted.
Pro tip: Don’t overbeat! If the cream starts looking grainy or curdled, you’ve gone too far.
Step 3: Prepare the Base Mixture
In a separate large bowl, combine the sweetened condensed milk, vanilla extract, and salt. Stir until completely integrated. This creates the sweet, flavorful foundation for your homemade ice cream.
Step 4: Fold in the Whipped Cream
Using a rubber spatula, gently fold the whipped cream into the condensed milk mixture. Work with a light hand in a figure-eight motion to maintain as much air as possible in the mixture. This is what gives the no-churn ice cream its fluffiness without machine churning!
Step 5: Choose Your Flavor
For Vanilla Ice Cream:
The base mixture is already perfect for vanilla! No additional steps needed.
For Strawberry Ice Cream:
- Combine strawberries, sugar, and lemon juice in a bowl
- Mash slightly and let sit for 10 minutes
- Fold the strawberry mixture into the ice cream base
For Cookies and Cream:
- Gently crush cookies, leaving some larger pieces for texture
- Fold crushed cookies into the ice cream base
Step 6: Transfer and Freeze
Pour your ice cream mixture into a 9×5-inch loaf pan or freezer-safe container. Cover with plastic wrap, pressing it directly onto the surface of the ice cream to prevent ice crystals. Seal tightly with a lid or additional aluminum foil.
Step 7: Freeze Until Set
Place in the freezer for at least 6 hours, preferably overnight. The ice cream will continue to improve in texture over the first 24 hours.
Nutritional Information
Per ½ Cup Serving (Vanilla):
- Calories: 320
- Total Fat: 22g
- Saturated Fat: 14g
- Cholesterol: 75mg
- Sodium: 95mg
- Total Carbohydrates: 28g
- Sugar: 27g
- Protein: 4g
Note: Strawberry version contains approximately 15 fewer calories per serving, while cookies and cream adds about 40 calories per serving.
Healthier Alternatives for the Recipe
- Lower-Fat Option: Substitute half the heavy cream with whole milk Greek yogurt for 30% fewer calories while maintaining creaminess
- Natural Sweeteners: Replace the sweetened condensed milk with 1 cup coconut cream blended with ¼ cup maple syrup or honey
- Fruit-Based Options: For naturally sweetened varieties, increase fruit content and reduce condensed milk by 25%
- Protein Boost: Add 2 tablespoons of unflavored protein powder to increase nutritional value
Serving Suggestions
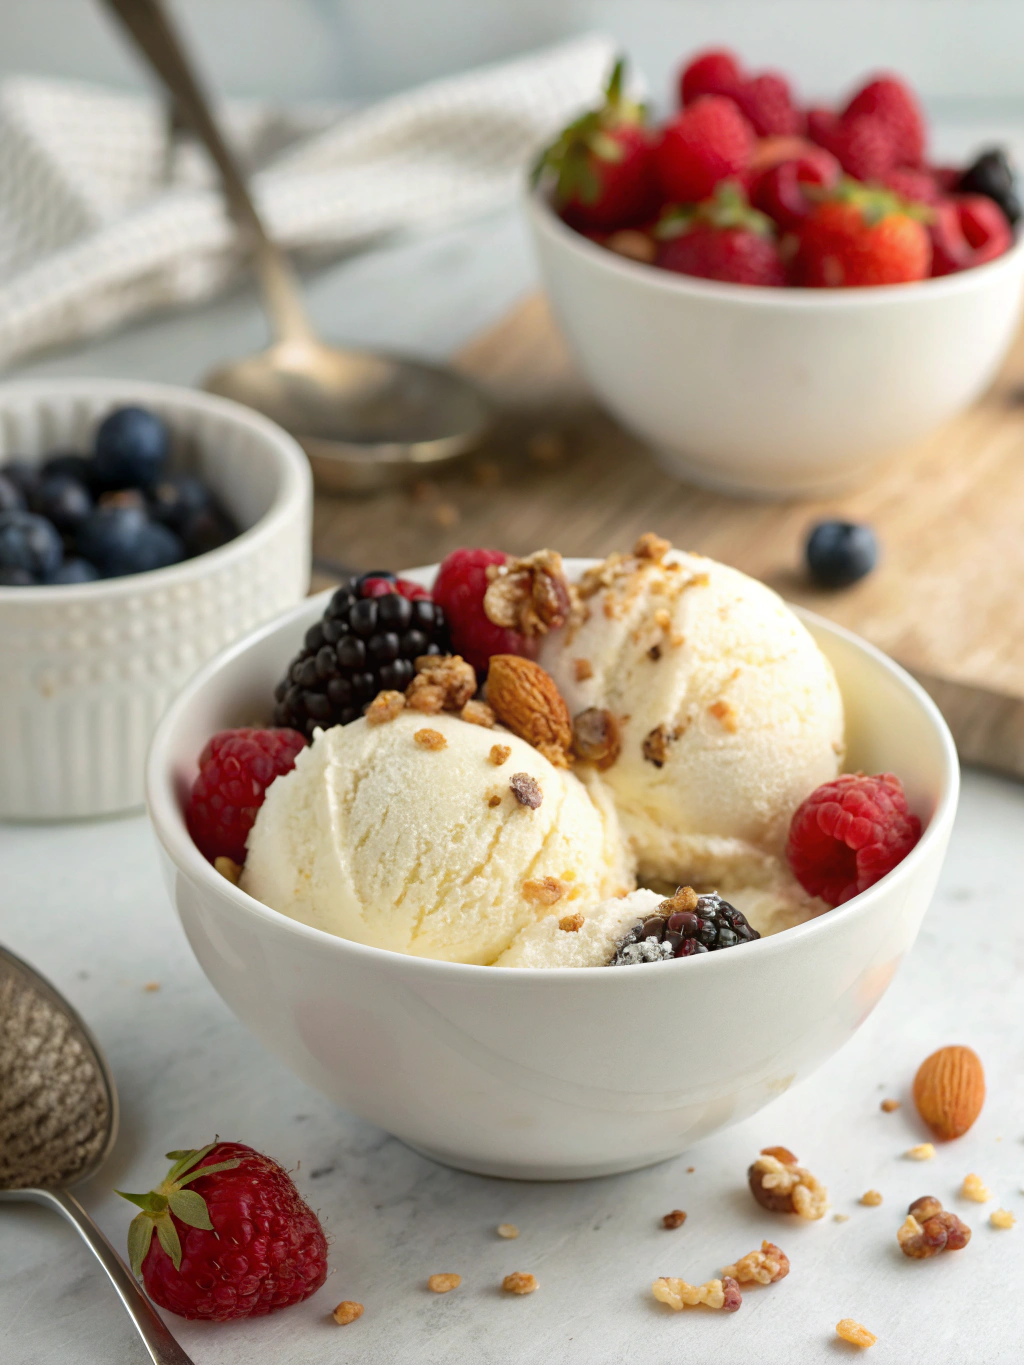
- Serve in chilled bowls to slow melting and enhance the eating experience
- Pair vanilla ice cream with warm fruit compotes for a delightful temperature contrast
- Create an ice cream sandwich using the cookies and cream version between chocolate chip cookies
- Add a drizzle of salted caramel or chocolate sauce for an elevated dessert experience
- For a fancy presentation, use a warm ice cream scoop dipped in hot water between servings
Common Mistakes to Avoid
- Not chilling equipment: Using room-temperature bowls reduces volume by up to 30%
- Overbeating cream: This causes a grainy texture that can’t be fixed
- Vigorous mixing: Deflates the air bubbles that create the creamy texture
- Opening freezer frequently: Causes temperature fluctuations that create ice crystals
- Using warm ingredients: Always start with cold cream and condensed milk for best results
Storing Tips for the Recipe
- Store in a shallow, airtight container to minimize ice crystal formation
- Place parchment paper directly on the ice cream’s surface before sealing
- Optimal freezer temperature is 0°F (-18°C) for maintaining perfect texture
- Homemade no-churn ice cream stays fresh for up to 2 weeks
- For longer storage, wrap the container in plastic wrap to prevent freezer burn
- Allow to soften at room temperature for 5-10 minutes before serving for optimal scoopability
Conclusion
Creating delicious homemade ice cream doesn’t require expensive equipment or complicated techniques. This quick and easy no-churn ice cream recipe proves that with just a few simple ingredients and minimal effort, you can create creamy, professional-quality desserts in your own kitchen. The versatility of the base recipe allows endless customization, so don’t stop at these three flavors – experiment with your favorite mix-ins and create your signature ice cream variety! Have you tried making no-churn ice cream before? Share your experience or flavor combinations in the comments below!
FAQs
Can I use half-and-half instead of heavy cream?
While you can use half-and-half, the final product won’t be as creamy. Heavy cream’s higher fat content (36% versus half-and-half’s 12%) is essential for the rich texture that mimics churned ice cream.
Why is my ice cream icy instead of creamy?
Iciness typically results from temperature fluctuations during freezing. Ensure your freezer maintains a consistent temperature, and don’t open the container frequently during the freezing process.
How long does homemade no-churn ice cream last?
When properly stored in an airtight container, your homemade ice cream will maintain peak quality for up to 2 weeks.
Can I make this recipe without condensed milk?
Condensed milk provides both sweetness and creamy texture. While alternatives exist (like cream cheese with sugar), they significantly alter the final product’s taste and texture.
What other flavors can I make with this base?
The possibilities are endless! Try chocolate (add ⅓ cup cocoa powder), mint chocolate chip (½ teaspoon mint extract and chocolate chips), or coffee (2 tablespoons instant espresso powder dissolved in 1 tablespoon hot water, then cooled).