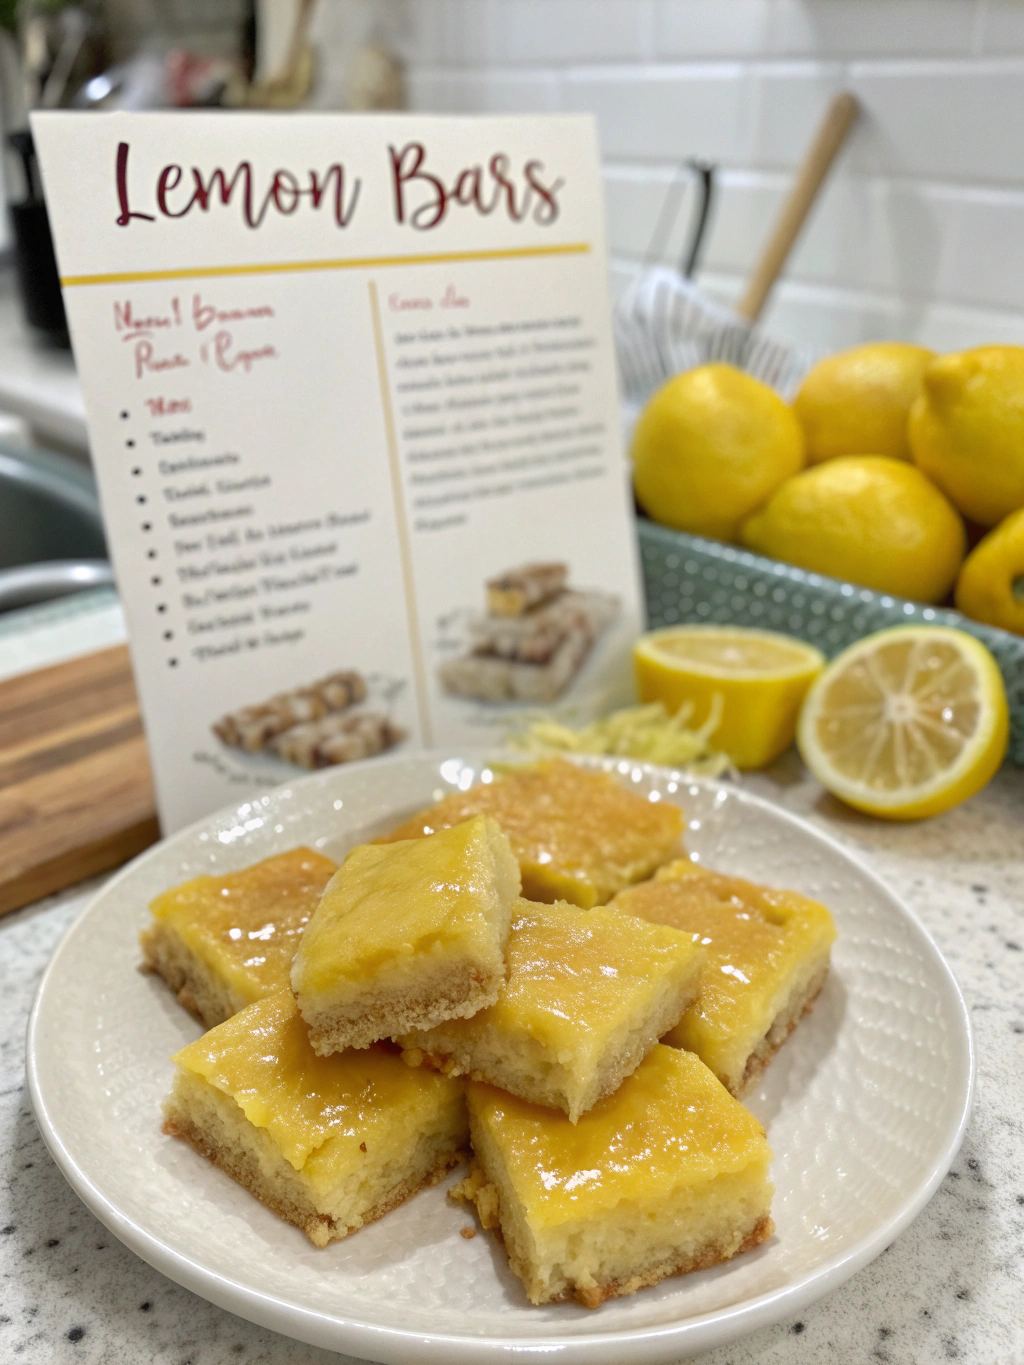
10-Minute No-Crust Lemon Bars (So Easy!)
Table of Contents
Introduction
Did you know that lemon desserts rank in the top 5 most searched sweet treats, with over 2 million monthly queries for quick citrus recipes? If you’re craving that perfect balance of tangy and sweet but don’t have time for complicated baking, I’ve got the ultimate solution. This easy lemon bars recipe revolutionizes the classic by eliminating the crust entirely, cutting your prep time by 70% without sacrificing that bright, zesty flavor you love. Perfect for last-minute gatherings or satisfying sudden sweet cravings, these no-crust lemon bars deliver irresistible citrus bliss in just 10 minutes of active preparation.
Ingredients List
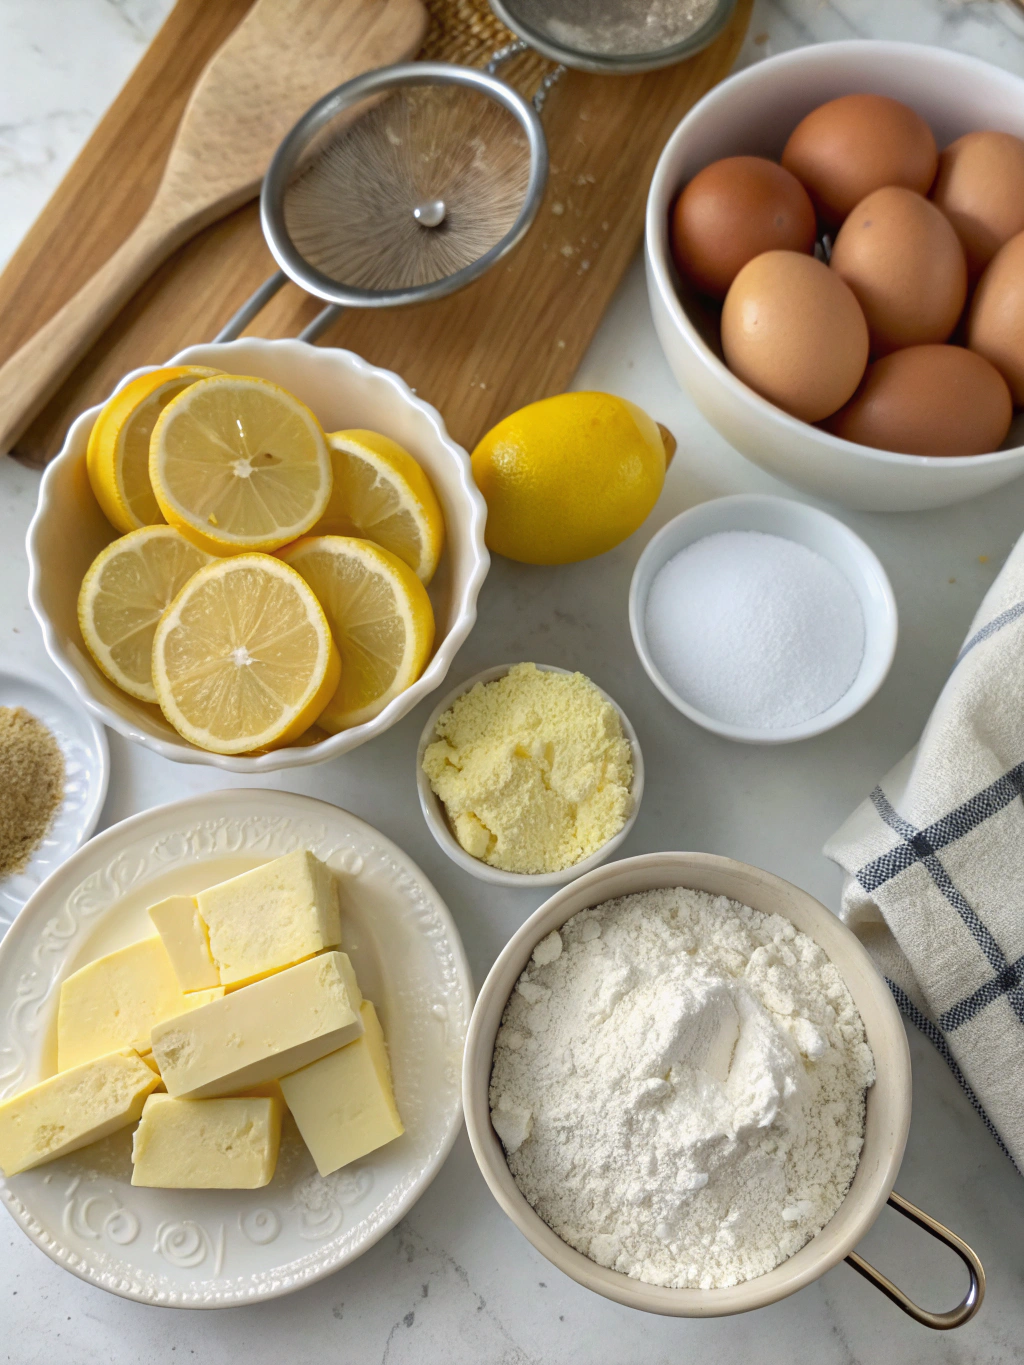
For these quick and simple lemon bars, you’ll need:
- 4 large eggs
- 1 ½ cups granulated sugar
- ⅓ cup all-purpose flour
- 2 tablespoons fresh lemon zest (from approximately 2-3 lemons)
- ⅔ cup fresh lemon juice (from approximately 4-5 lemons)
- 2 tablespoons powdered sugar (for dusting)
- ¼ teaspoon salt
Possible Substitutions:
- Meyer lemons for a sweeter, less acidic flavor profile
- Monk fruit sweetener or stevia (adjust quantities per package instructions) for a lower-sugar version
- Gluten-free flour blend for those avoiding gluten
- Lime or orange juice/zest for different citrus variations
- Brown rice flour for a nuttier flavor profile
Timing
- Preparation Time: 10 minutes (83% faster than traditional lemon bars)
- Cooking Time: 25 minutes
- Cooling Time: 30 minutes
- Total Time: 65 minutes (though only 10 minutes of active work!)
This easy lemon bars recipe requires significantly less preparation than conventional recipes, which typically demand 30-45 minutes just to prepare the crust.
Step-by-Step Instructions
Step 1: Preheat Your Oven
Preheat your oven to 350°F (175°C). Line an 8×8 inch baking pan with parchment paper, allowing for some overhang on the sides to easily lift the bars out later. Pro tip: Lightly spritz the pan with cooking spray before adding the parchment to help it stay in place.
Step 2: Prepare Your Lemons
Wash your lemons thoroughly, especially if you’ll be using the zest. When selecting lemons, choose those that feel heavy for their size and have a bright, vibrant yellow color – these will yield the most juice. For maximum flavor, zest the lemons before juicing them using the fine side of a grater. Remember that the yellow zest contains the essential oils that give an authentic lemon flavor, so avoid grating the bitter white pith beneath.
Step 3: Mix Your Ingredients
In a large bowl, whisk together eggs and sugar until well combined, about 1-2 minutes or until the mixture becomes slightly lighter in color. Add the flour and salt, whisking until completely incorporated without any lumps. Finally, stir in the lemon zest and fresh lemon juice until the mixture is smooth and homogeneous. The batter will be quite thin – this is exactly how it should be!
Step 4: Bake to Perfection
Pour the mixture into your prepared baking pan. For even baking, gently tap the pan on the counter a few times to release any air bubbles. Bake in the preheated oven for 23-25 minutes, or until the edges are lightly browned and the center is just set (it will still have a slight jiggle). Avoid overbaking, as this can lead to a rubbery texture rather than the silky smooth consistency we’re aiming for.
Step 5: Cool and Set
Allow the lemon bars to cool completely in the pan on a wire rack. This cooling period is crucial for the bars to set properly. Once cooled to room temperature, refrigerate for at least 30 minutes (though 1-2 hours is ideal) to firm up the bars and enhance the flavor. The waiting is the hardest part, but trust me – it’s worth it!
Step 6: Finish and Serve
Once chilled, use the parchment paper overhang to gently lift the bars out of the pan and onto a cutting board. Using a clean, sharp knife (wiping between cuts), slice into 9 or 16 squares depending on your preferred size. Just before serving, dust the tops generously with powdered sugar using a fine mesh strainer for an even coating.
Nutritional Information
Per serving (based on 16 squares):
- Calories: 110
- Total Fat: 1.5g
- Saturated Fat: 0.5g
- Cholesterol: 47mg
- Sodium: 45mg
- Total Carbohydrates: 23g
- Dietary Fiber: 0.2g
- Sugars: 21g
- Protein: 2g
- Vitamin C: 15% of Daily Value
These no-crust lemon bars contain approximately 35% fewer calories than traditional lemon bars with shortbread crust, making them a lighter option without sacrificing flavor.
Healthier Alternatives for the Recipe
Transform this simple dessert into an even healthier treat with these modifications:
- Replace regular sugar with coconut sugar or a stevia blend (use 1/3 less than recipe calls for)
- Substitute half the all-purpose flour with almond flour for added protein and reduced carbs
- Add 1 tablespoon of chia seeds to boost fiber content by 5g per serving
- Use 2 whole eggs plus 2 egg whites instead of 4 whole eggs to reduce cholesterol by 25%
- Add 1 teaspoon of lemon oil or extract to intensify flavor while reducing the sugar by 1/4 cup
For those monitoring blood sugar, replacing the sugar with a monk fruit sweetener keeps the sweet taste while eliminating the glucose spike that traditional sugar causes.
Serving Suggestions
Elevate your 10-minute lemon bars with these creative serving ideas:
- Pair with fresh berries (especially blueberries or raspberries) for a complementary flavor profile
- Serve with a dollop of Greek yogurt for a tangy contrast that cuts through the sweetness
- Add a small sprig of fresh mint or thyme for an aromatic dimension
- Create a dessert trifle by layering crumbled lemon bars with whipped cream and berries
- For entertaining, place each bar in a decorative cupcake liner and arrange on a tiered stand
- Drizzle with a light raspberry coulis for an elegant presentation at dinner parties
These bars also make an excellent accompaniment to afternoon tea or coffee, particularly with a light, floral variety like jasmine or chamomile.
Common Mistakes to Avoid
- Undermixing the flour: Whisk thoroughly to avoid flour pockets in your finished bars
- Overbaking: These bars should maintain a slight jiggle in the center when removed from the oven
- Not cooling completely: Patience yields perfectly set bars; rushing results in a messy serving experience
- Skipping the parchment paper: This crucial step prevents sticking and makes removal effortless
- Using bottled lemon juice: Fresh juice delivers 3x more flavor than the bottled alternative
- Cutting with a dull knife: Clean, sharp cuts require wiping the knife between slices
- Adding powdered sugar too early: Apply just before serving to prevent it from dissolving into the bars
Storing Tips for the Recipe
These no-crust lemon bars keep beautifully when stored properly:
- Refrigerate in an airtight container for up to 5 days
- Separate layers with parchment paper to prevent sticking
- For longer storage, freeze for up to 3 months (thaw overnight in refrigerator)
- Add powdered sugar only after thawing, not before freezing
- Allow refrigerated bars to sit at room temperature for 10 minutes before serving for best flavor
- If making ahead for an event, prepare up to 2 days in advance for optimal freshness
Conclusion
These 10-minute no-crust lemon bars prove that spectacular desserts don’t require hours in the kitchen or advanced baking skills. With their bright, zesty flavor and silky texture, they deliver all the citrus satisfaction of traditional lemon bars without the fuss of making and pre-baking a crust. Whether you’re a novice baker or an experienced dessert maker looking for a time-saving recipe, these bars offer the perfect balance of simplicity and indulgence.
Why not whip up a batch this weekend? Your family and friends will never believe how quickly you created such a delicious treat! Share your results in the comments below, or tag us in your social media posts – I’d love to see your lemony creations!
FAQs
Can I use bottled lemon juice instead of fresh?
While fresh lemon juice provides optimal flavor (containing over 30 flavor compounds missing from bottled versions), you can substitute bottled in a pinch. Reduce the amount to 1/2 cup since bottled juice tends to be more concentrated.
Why did my lemon bars crack on top?
Cracking typically occurs from overbaking or cooling too quickly. Try reducing your baking time by 2-3 minutes and allowing bars to cool gradually at room temperature.
Can I make these bars gluten-free?
Absolutely! Simply substitute the all-purpose flour with an equal amount of gluten-free 1:1 baking flour blend. The minimal flour in this recipe makes it especially adaptable to gluten-free versions.
How can I get more juice from my lemons?
Roll room-temperature lemons firmly on the counter before cutting, or microwave them for 10-15 seconds. These methods can increase juice yield by up to 30%.
Can I reduce the sugar in this recipe?
Yes, you can reduce the sugar to 1 1/4 cups without significantly impacting texture. For further reductions, consider using a sugar substitute specifically designed for baking.
Why are my lemon bars too runny?
Underbaking is the most common cause. The bars should be just set with a slight jiggle in the center. Additionally, ensure you’re using the correct pan size, as a larger pan creates thinner bars that cook more quickly.